
News / Sandi Sports
Planning Sports Event Branding: Flags, Barriers and Signs
How to plan flags, barrier covers, arches and wayfinding around a race venue, with a checklist for dimensions, artwork, hardware and packing.
Start with the venue plan
A useful sports event branding brief starts with a clear map of the venue. Mark registration, spectator areas, course turns, transition zones and the finish on a site plan. For each location, record what people need to see, where they will approach from and which graphics must appear in photographs. This makes it easier to coordinate an on-site materials range without repeating the same message on every surface.
Give each format a clear job
Feather flags and barrier covers serve different parts of a venue. Flags can identify a zone or draw attention to an entrance; barrier covers carry event or sponsor graphics along an existing barrier line. Printed event banners provide a separate display surface where the venue has a suitable mounting location.
Wayfinding signs need clear destinations and arrow directions. Keep their practical information distinct from sponsor artwork. Inflatable finish arches make the opening dimensions and crossbar artwork part of the brief, while event canopies require separate decisions about roof panels, side walls and the registration area beneath them.
Measure the product and the space
For every item, distinguish the finished graphic size from the available space. A barrier cover brief should include measurements and photographs of the actual barriers, including any gaps or parts that must remain accessible. For flags, identify whether the order covers replacement graphics or a complete display, and provide details of any existing poles and bases.
For an arch, record the required clear opening as well as the overall footprint. For a canopy, include the proposed position and any tables or signs that need to fit within it. Identify who will provide hardware and handle setup, so the quotation has a clear scope.
Prepare artwork by surface and direction
Adapt the artwork for each product surface. Give each design a name that matches the site plan. Record the intended front and back appearance, readable direction, sponsor version and quantity for each format. A left-turn sign and a right-turn sign should be separate approved files, even if they share the same visual style.
Ask for the supplier's artwork template before placing important lettering near seams, pole sleeves or fixing points. Confirm which edges, folds and attachments affect the printable area. Agree whether approval will use a digital proof, a printed sample or a finished product sample, and identify who can approve changes.
Match material choices to the setting
There is no single best material for every outdoor sports event. The proposed fabric or panel needs to suit the location, display duration, supporting structure and venue requirements. Specify indoor or outdoor use, whether graphics will be reused and how items will be stored between events. Ask the supplier to identify the proposed material and finishing in the quote, with any required documentation reviewed against the actual venue brief.
Group packing by destination
A product list organised only by item type can be awkward when different teams receive different materials. Give each location a code and use it on the artwork schedule, quantities and packing instructions. Separate registration, course and finish-line packs where required. Identify repeat graphics and sponsor variants clearly so the receiving team can check the delivery against the approved list.
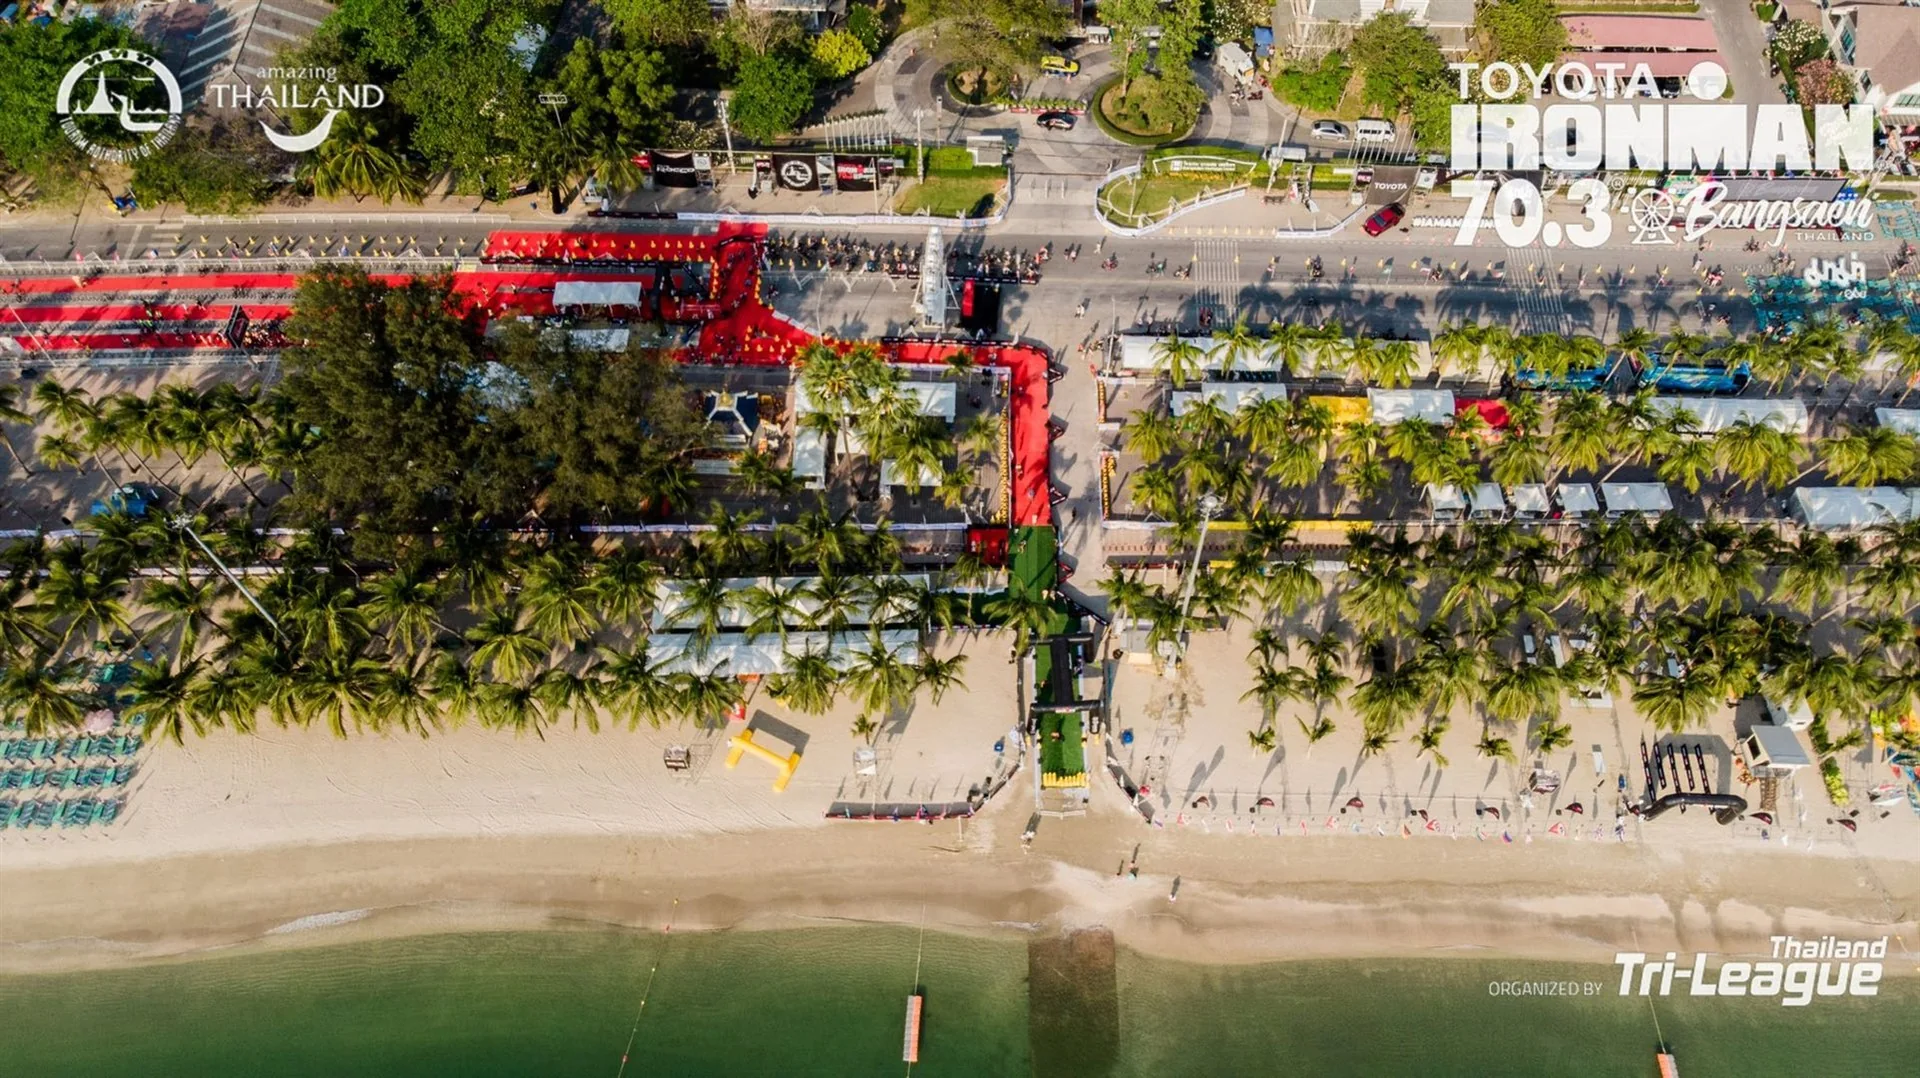
The Bangsaen venue archive shows flags, barrier graphics and finish-line branding at different scales. It provides a visual reference for planning related touchpoints across a race venue.
Send a focused quotation brief
- Venue plan and location codes.
- Product formats, quantities and measured dimensions.
- Existing hardware photographs and the required supply scope.
- Artwork files, print directions and sponsor versions.
- Material, sample and packing requirements.
- Delivery destination, required arrival date and approval contact.
Where a detail is undecided, mark it as open. A clear brief makes the proposed options easier to compare before specifications are approved.
Your next event